 |
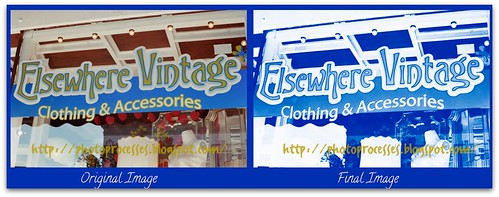
| cyanotype, by Photo Processes on Flickr. |
This Photoshop tutorial assumes a basic understanding of Photoshop. When working with a different photo, the final result will be very different. So, use the steps below as a basic guide to learn how to create your own digital cyanotype. Changing the settings below will help you achieve the best outcome of your digital photo.
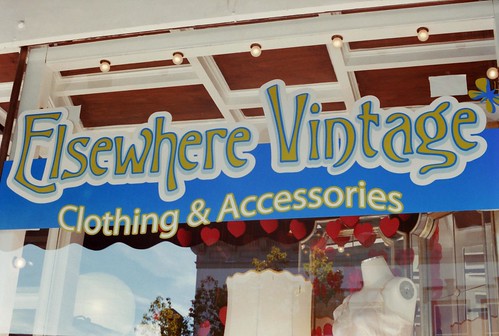
- Open the photo you want to use in Photoshop
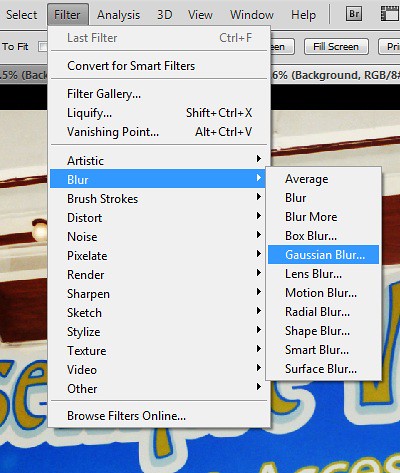
- One key aspect of the cyanotype is the slightly blurred aspect. Its much softer than an image taken with a Digital SLR camera. To do this go to Filter>Blur>Gaussan blur (this one was 7 pixels)
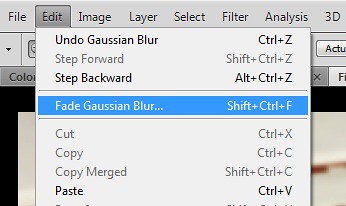
- Then fade the blur to create a subtler effect. File> Fade Gaussan blur (to 30%).
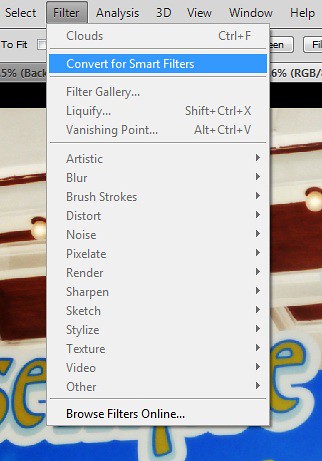
- The next step is filters to create the wonderful texture of a cyanotype. Before adding any filters to the image, convert for smart filters so that you will be able to go back and edit the filters. Filter >Convert for Smart Filters.
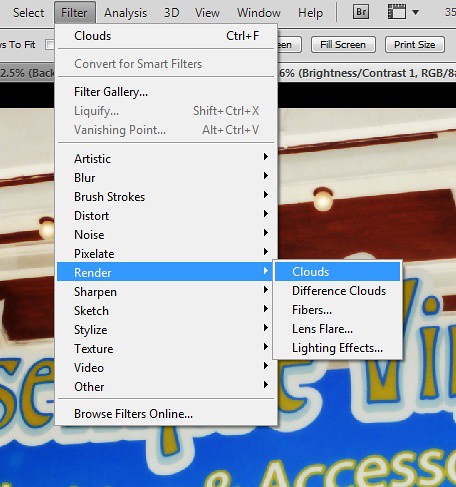
- First you can add an uneven tonality to get that hands on effect. Filter>Render>Clouds.
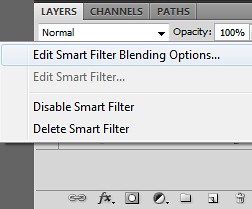
- The filter needs to be much subtler. To fade a smart filter, right click on the filter in the layers palette, and select the Edit Smart Filter Blending Options and lower the opacity. This image was lowered to around 5%.
The following filters were added to create even more texture. Play around with the textures until you get the type of texture that you want. Some of the following filters were done in lighten, darken, or normal modes. These modes will depend on the type of image that you want. All of these textures add a wonderful texture to the image; the same sort of texture that you would get if you made the print by hand.
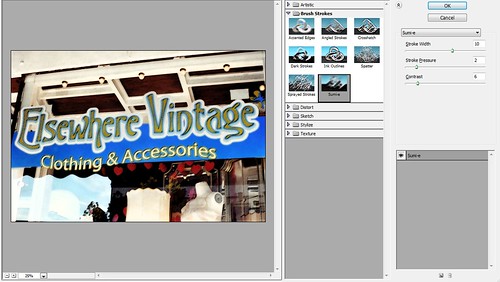
- Filter>Brush Strokes> Sumi-e. Follow step 6 to fade the filter to about 25% or less.
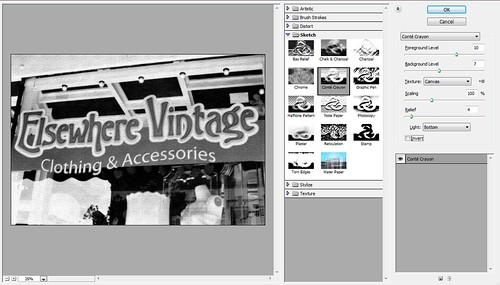
- Filter>Sketch>Conté Crayon. Follow step 6 to fade the filter to about 25% or less.
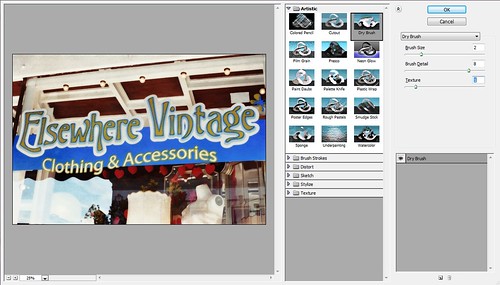
- Filter>Artistic>Dry Brush. Fade the filter in the same manner.
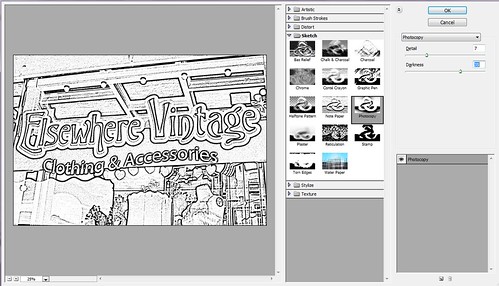
- Filter>Sketch>Photocopy. Fade the filter.
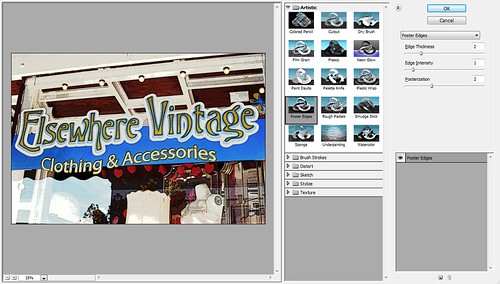
- Filter> Artistic>Poster edges. Fade the filter.
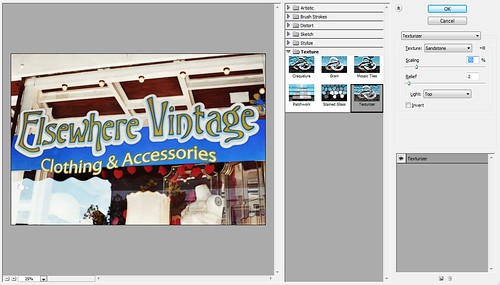
- Filter>Texture>Texturizer> choose sandstone from the drop down “texture” menu. Fade the filter.
Next are the steps to create the cyanotype. You can follow the following steps of you can go to the color-channels curves and playing with the curves in RGB.
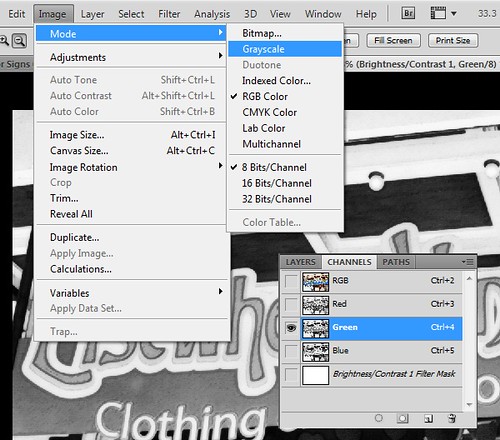
- Select the channels form the layers palette. Select one of the channels: red, green, or blue (whichever looks best alone—with the most details). Turn the image into grayscale – Image>Mode>Grayscale. When you convert the image to grayscale, you will have to flatten your image, so make sure that you are happy with the texture.
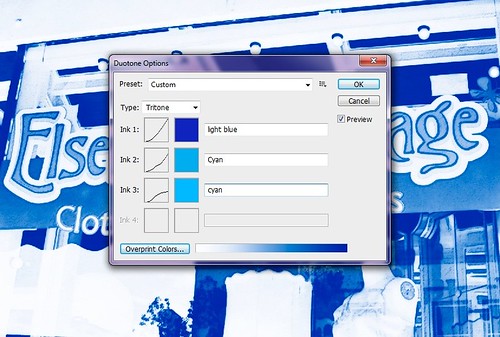
- Convert image to duotone or tritone depending on your preference. This image was converted to tritone because it offers richer color. Image>Mode>Duotone and select tritone for the type. Ink #1 is a dark blue, ink #2 an #3 are a cyan color chosen from the picker. Click OK. Of course, you can choose your own colors and really make it your own. If you want to change your color selections after you click OK, you can go to Image>Mode>Duotone and make all the changes you want.
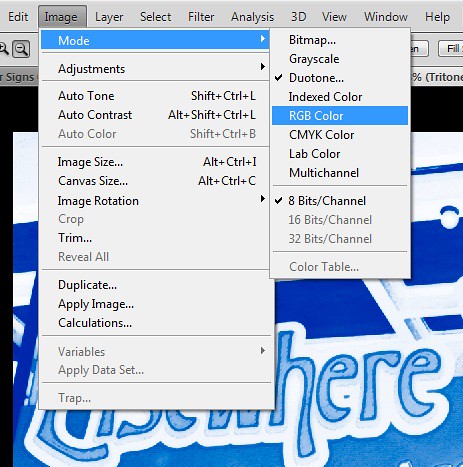
- Convert image back to RGB mode, Image>Mode>RGB Color
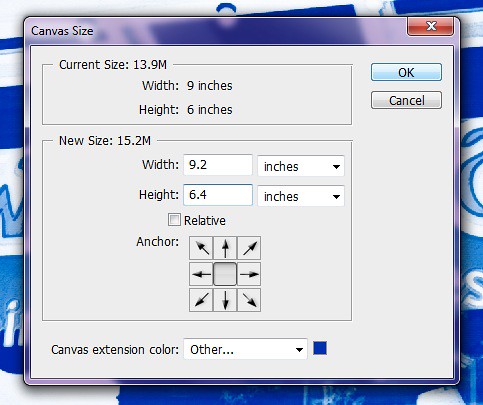
- Now you can create a thick border around the image if you want. The image was cropped to 9x6 inches. To add the blue border around it, Image>Canvas Size> enlarged to 9.2 in x 6.4 in, deselect relative with the darkest blue picked from the image.
- Save your image and there you have it! A digital cyanotype made in Photoshop!

Here are some quick tips for creating a real cyanotype: cyanotype the easy way. By the way, it is easier than doing it in photoshop so long as there is bright sunlight.
No comments:
Post a Comment