Open the photo that you want to edit in Adobe Photoshop. Turning a digital photo into a “lomo” works really well with images that are slightly out of focus, which will help you give new life to your out of focus photos using Photoshop CS5.

Step 2:
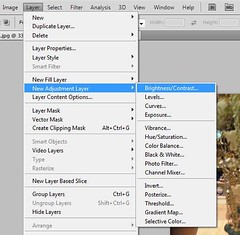
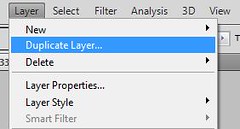
First, you want to increase the contrast of the photo. Go to Layer>New Adjustment Layer>brightness/Contrast. Click OK and increase the contrast by about 20 or 30.
Step 3:
Another feature of lomo photography is, bright, saturated colors. So you will want to increase the saturation of the photo in Photoshop. Go to Layer>New Adjustment Layer>Hue/Saturation. Click OK and set the saturation somewhere between 20 and 30.

Step 4:
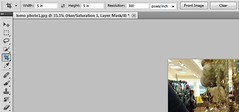
Before going any further, you should decide if you want a square image. In many cases, lomo photos (taken with a film camera) will be a squared. In the tool bar, select the crop tool and make sure that the width and height are the same. In this instance, I used 5inx5in at 300pixels per inch.

Step 5:
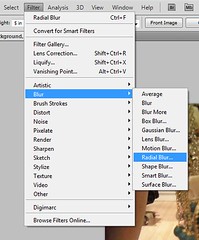
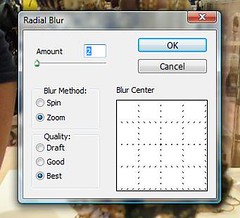
Often times the background in lomo photos are slightly blurred, especially around the edges. To achieve this, with the background layer selected go to Filter>Blur>Radial Blur with the following options. Amount: 2, Blur Method: Zoom, Quality: Best, and Click OK.
Step 6:
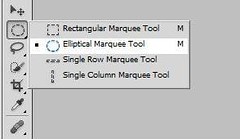
To create the vignette around the edges, use the elliptical marquee selection from the tool bar.
Step 7:
First, check the image size of your photo by going to Image>Image Size and look at the width. Change the feather options to about 1/12 of that number. In this instance, the width of the image is 1500, so the feather is set to 125.
Step 8:
Draw a circle by dragging the selection from the top left to the bottom right so that the selection touches all four sides.

Step 9:
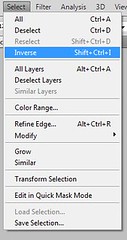
Select the inverse. Go to Select>Inverse.
Step 10:
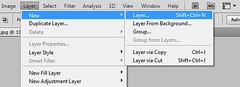
Create a new layer on top of the background layer. Go to Layer>New>Layer.
Step 11:
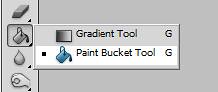
Change the foreground color to black. Fill the selection on the new layer using the paint bucket tool.

Step 12:
If you want to darken the vignette effect slightly, add a second layer. Go to Layer>Duplicate Layer.
Step 13:
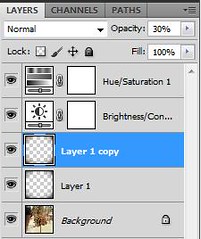
This leaves you with a dark, very obvious vignette, so change the opacity of the new layer to about 30% in the layers palette.
Step 14:
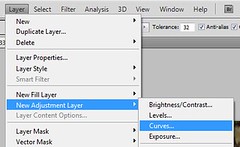
Next, we want to play with the color a little bit. Select the background layer in the layers palette. Go to Layer>New Adjustment Layer>Curves.
Step 15:
In the curves dialogue box create a slight, slanted S similar to the one in the image below.


Step 16:
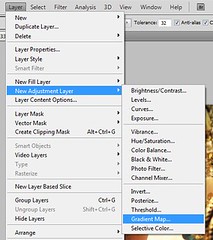
To manipulate the photo a little more, go to Layer>New Adjustment Layer>Gradient Map.
Step 17:
Change the blending mode to Overlay.

Step 18:
Change the Opacity of the layer to about 30 and you are finished!

There are a few other things that we can add to this lomo photo. First, a lot of lomography photos are cross-processed. And many of them feature beautiful light leaks. When creating the lomo effect in Adobe Photoshop, it is important to remember that all are not the same. Each photo taken with a lomo camera is uniquely different. But for now, here is the final image: A lomography photo in Photoshop CS5.

No comments:
Post a Comment